Follow Me On Social Media!

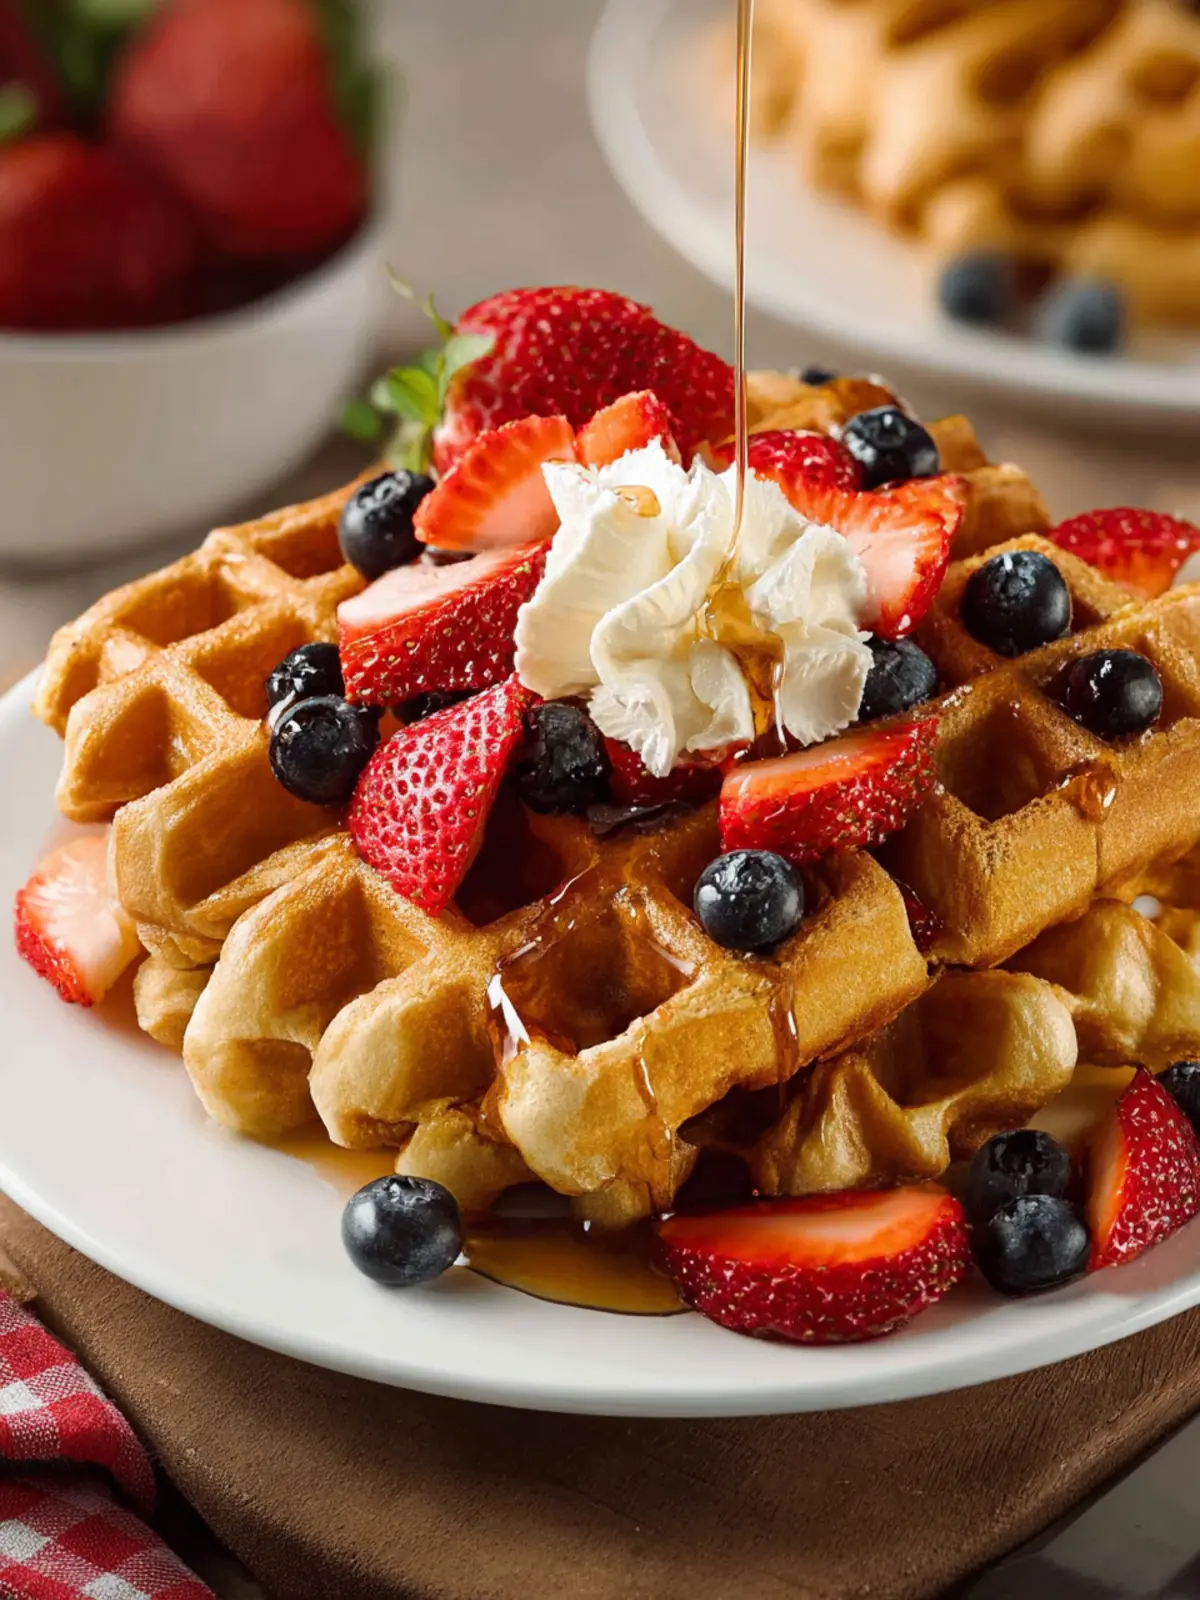
Gluten Free Buttermilk Waffles: Irresistibly Fluffy & Delicious
Introduction to Gluten-Free Buttermilk Waffles
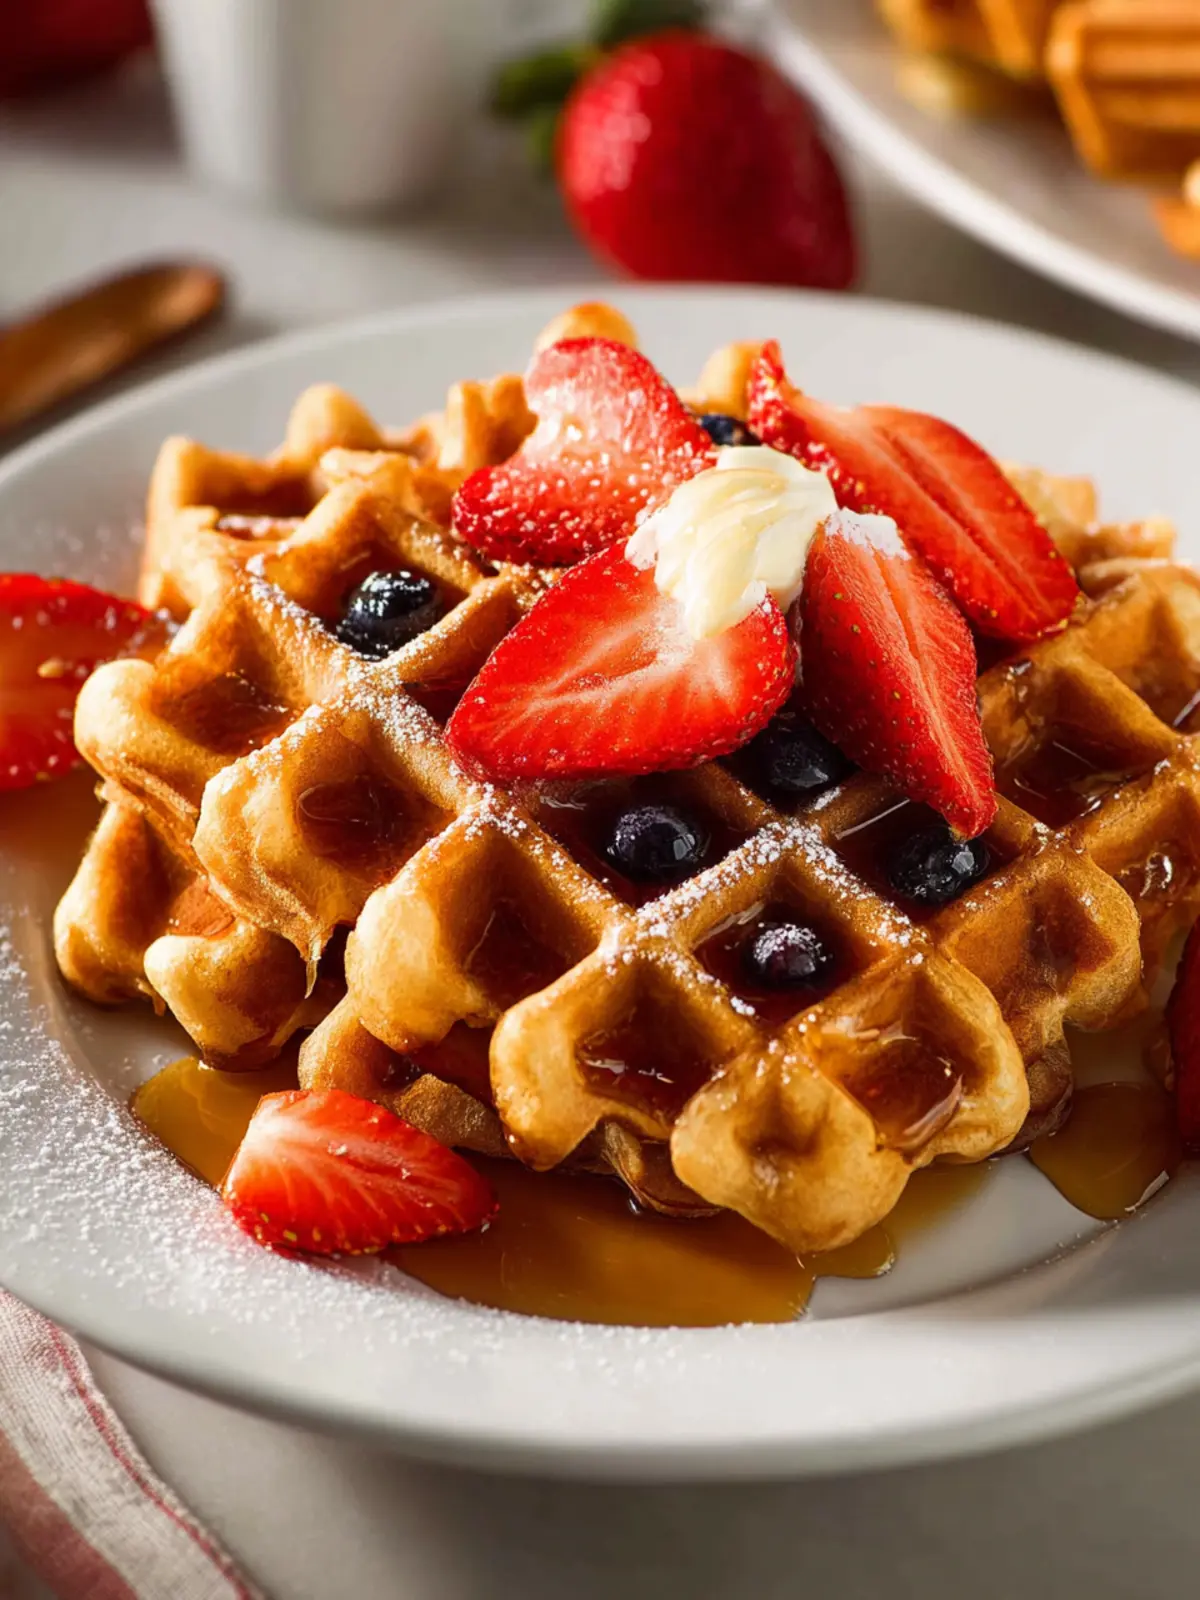
Imagine waking up on a lazy Saturday morning, the sun filtering through your curtains and the smell of freshly made gluten-free buttermilk waffles wafting through your home. There’s something undeniably cozy about homemade waffles, a treat that elevates the ordinary breakfast to extraordinary heights. If you’re curious about why making waffles from scratch is such a game changer, let’s dive into it together.
Why Homemade Waffles are a Game Changer
From the first mixing bowl to the final, golden-brown waffle drizzled with maple syrup, making your own gluten-free buttermilk waffles is an experience like no other. When you whip up a batch at home, you get to control the ingredients, ensuring everything is fresh and suited to your tastes and dietary needs. You’ll savor the satisfaction that comes from creating something delicious, all while the heartbeat of your kitchen hums with the sound of the waffle iron working its magic.
-
Healthier Choices: Store-bought waffles often hide preservatives and artificial flavors. By preparing your own, you can use wholesome, gluten-free ingredients that enhance flavor without the baggage of additives.
-
Customization: Craving something fruity? Toss in some blueberries or slices of banana into the batter. Prefer a hint of spice? A sprinkle of cinnamon or nutmeg can transform your waffles into a gourmet experience.
-
Freshness: There’s a huge difference between a fresh waffle and a frozen one. The texture and flavor of freshly made waffles are incomparable, with a delightful crispness on the outside and a soft, fluffy interior that welcomes toppings of your choice.
-
Memorable Moments: Homemade waffles naturally invite sharing, whether it’s a leisurely brunch with friends or a cherished family breakfast. There’s something special about making memories over a warm plate of waffles that you’ll remember long after the last bite.
So, get ready to create a breakfast that not only satisfies your hunger but also warms your heart. As we venture further, let’s explore the specific ingredients that will help you craft these delectable gluten-free buttermilk waffles. Your kitchen is calling!

Key Ingredients for Gluten-Free Buttermilk Waffles
Creating the perfect gluten-free buttermilk waffles is all about choosing the right ingredients that deliver on flavor and texture. Here’s what you’ll need to turn your breakfast dreams into reality.
-
Gluten-Free All-Purpose Flour: The magic begins with a good quality gluten-free flour blend. Ensure it has a mix of flours like rice and tapioca, providing the structure while keeping the texture light and fluffy.
-
Buttermilk: This is crucial for the delicious tang and moisture in your waffles. If you prefer dairy-free options, you can substitute with almond or oat milk mixed with a bit of vinegar for that same acidity.
-
Eggs: They add richness and help bind everything together. Using large eggs will set you up for success, creating that perfect raised appearance we all love.
-
Baking Powder: This leavening agent is essential to achieve fluffy waffles. It works with the buttermilk to produce those beautiful air pockets.
-
Sugar: A sprinkle of granulated sugar not only sweetens your waffles but also gives them a lovely golden-brown color.
With these ingredients, you are well on your way to enjoying the most delightful gluten-free buttermilk waffles that will impress friends, family, or just yourself.
Why You’ll Love These Gluten-Free Buttermilk Waffles
Who knew that gluten-free buttermilk waffles could bring so much joy to a bustling Saturday morning? With each golden, fluffy bite, these waffles transform breakfast into a celebration, whether you’re lounging solo with your favorite book or hosting friends for brunch.
Rich and welcoming, these waffles are a fantastic gluten-free option. They boast a delightful texture that rivals traditional waffles, thanks to the perfect blend of gluten-free flours and the tangy buttermilk. The batter, light and airy, cooks up beautifully in your waffle iron, creating those irresistible crispy edges and soft centers we all crave.
You’ll also appreciate how quick and easy this recipe is. In just a matter of minutes, you can whip up a batch that’s ready to be adorned with fresh fruits, maple syrup, or a dusting of powdered sugar. Plus, they freeze well, so you can always have a stash ready for those busy mornings when you want a homemade breakfast without the fuss.
If you enjoy hosting brunches, these gluten-free buttermilk waffles are a hit, accommodating various dietary needs while still pleasing the taste buds of everyone at the table. Ultimately, the love and warmth of these waffles make them a breakfast staple you won’t want to miss.
Variations
While these gluten free buttermilk waffles are amazing on their own, experimenting with different twists can elevate your breakfast experience. Here are some fun variations to consider:
Flavorful Add-ins
- Chocolate Chips: Add in a handful of semi-sweet or dark chocolate chips for a delightful sweetness that pairs perfectly with maple syrup.
- Fruits: Consider mixing in blueberries or chopped strawberries directly into the batter for a fresh, fruity flavor.
Unique Flour Blends
- Almond Flour: Swap out a portion of the gluten-free flour with almond flour for a nutty flavor and extra moisture.
- Coconut Flour: Substitute a small amount of your gluten-free blend with coconut flour for a hint of tropical taste. Just remember, coconut flour absorbs liquid more, so adjust your wet ingredients accordingly.
Toppings Galore
- Yogurt or Whipped Cream: Top your waffles with a dollop of Greek yogurt or homemade whipped cream to give a creamy contrast.
- Nuts: Add a sprinkle of chopped walnuts or pecans for a satisfying crunch and added nutrition.
These variations can turn your standard gluten free buttermilk waffles into a creative feast that keeps breakfast exciting!
Cooking Tips and Notes
Creating those gluten free buttermilk waffles at home can be a delightful experience, and I’m here to share some invaluable cooking tips to make your batch perfect every time.
Choosing the Right Flour
Opt for a quality gluten-free all-purpose flour blend that contains xanthan gum, which acts as a binding agent. This will help mimic the stretchiness of traditional flour, giving your waffles a beautifully fluffy texture.
Get Creative with Buttermilk
If you’re out of buttermilk, no need to panic! A simple substitute is mixing 1 cup of milk with 1 tablespoon of lemon juice or vinegar—let it sit for about 5 minutes to thicken. It works wonders in achieving that signature tanginess in your batter.
Don’t Rush the Resting
Allow the batter to rest for about 5-10 minutes before pouring it onto the waffle maker. This step is crucial as it promotes better absorption of liquid and results in a lighter, airier waffle.
Cooking with Precision
Pay attention to your waffle iron settings. Remember, every appliance varies; a little trial and error can help you find the ideal temperature and cooking time for your own gluten free buttermilk waffles.
Serve with Love
Finally, topping them with fresh fruit, maple syrup, or a dollop of Greek yogurt can elevate the experience. Trust me, once you nail these tips, brunch will never be the same!
Serving Suggestions
Imagine starting your weekend with gluten free buttermilk waffles that make your taste buds dance. The delightful aroma wafting through your kitchen is just the beginning of your waffle adventure. Here are some creative ways to enjoy these waffles that will make your brunch unforgettable.
-
Classic Maple Syrup: You can’t go wrong with a drizzle of rich, pure maple syrup. The sweetness complements the waffles perfectly, enticing every bite with a hint of nostalgia.
-
Fresh Berries and Cream: Top your waffles with a medley of fresh berries—strawberries, blueberries, and raspberries add a burst of color and freshness. A dollop of whipped cream or Greek yogurt gives it a rich, creamy finish.
-
Nut Butter Bliss: Spread almond or peanut butter for a delicious twist, and add sliced bananas on top for an extra layer of flavor.
-
Savory Twist: Try adding crispy bacon or sautéed spinach for a savory pairing that balances the sweetness of the waffles beautifully.
No matter how you choose to serve your gluten free buttermilk waffles, each bite promises to be a joy!
Time Breakdown for Gluten-Free Buttermilk Waffles
When it comes to making scrumptious gluten-free buttermilk waffles, it’s all about managing your time efficiently so you can enjoy them without a hassle.
Preparation Time
You’ll need around 10 minutes for preparation. This includes gathering your ingredients and mixing the dry and wet components, ensuring everything is just right.
Cooking Time
Cooking each batch takes about 5 minutes. While the first batch is cooking, you can sneak in a moment to sip on your coffee.
Total Time
In about 15 minutes, you can go from a mixing bowl to a plate full of golden, fluffy gluten-free buttermilk waffles. Perfect for a leisurely weekend brunch or a quick weekday treat!
Nutritional Facts for Gluten-Free Buttermilk Waffles
When indulging in a warm stack of gluten-free buttermilk waffles, it’s helpful to know how they fit into your day. These waffles not only satisfy your cravings but also offer a balance of nutrition that makes breakfast enjoyable.
Calories
Each serving packs around 220 calories, making it a great option for a hearty yet manageable breakfast.
Protein
You’ll find approximately 5 grams of protein per serving, providing essential nutrients to help kickstart your morning and keep you energized throughout the day.
Sodium
With about 300 milligrams of sodium, these waffles are seasoned just right without going overboard, making them a healthier morning choice.
FAQs about Gluten-Free Buttermilk Waffles
Making gluten-free buttermilk waffles can spark a morning of joy, but it’s natural to have questions along the way. Here are some common inquiries that might enhance your waffle-making experience.
Can I use regular flour instead?
While traditional all-purpose flour creates great waffles, using it in this gluten-free buttermilk waffle recipe isn’t advisable. The beauty of gluten-free baking lies in its special blends, which often include ingredients like almond flour, rice flour, or tapioca starch. Regular flour contains gluten, which provides elasticity; without it, your waffles may not turn out as fluffy and light. Stick with gluten-free blends for the best results!
How do I store leftover waffles?
Storing leftover gluten-free buttermilk waffles is straightforward! Allow them to cool completely, then layer them between sheets of parchment paper to keep them from sticking together. Place the stack in an airtight container or a resealable bag, and refrigerate for up to three days. This ensures your waffles remain tasty and ready for a quick breakfast or snack later!
Can I freeze gluten-free waffles?
Absolutely! Freezing gluten-free buttermilk waffles is a great way to have a delicious meal on hand. Simply stack your cooled waffles with parchment paper in between, transfer them to a freezer-safe bag or container, and seal it tight. They can keep well for up to three months. When you’re ready to enjoy them, just pop them in the toaster or microwave, and they’ll taste just as fresh!
Conclusion on Gluten-Free Buttermilk Waffles
As we wrap up our exploration of gluten-free buttermilk waffles, it’s clear that these delightful creations can satisfy both dietary needs and taste buds alike. The crispy exterior combined with the fluffy interior offers a perfect canvas for toppings like fresh fruit or maple syrup. Whether you’re serving them for a leisurely brunch or a quick weekday breakfast, these waffles are sure to impress friends and family. Don’t hesitate to experiment with flavors, and perhaps even add a sprinkle of cinnamon or a dash of vanilla for a personalized touch. Enjoy your delicious adventure in gluten-free cooking!
Print
Gluten Free Waffles
- Total Time: 35 minutes
- Yield: 4 servings 1x
- Diet: Gluten-Free
Description
Deliciously fluffy gluten-free waffles that are perfect for breakfast!
Ingredients
Scale
- 2 ¼ cups gluten free 1:1 flour (270 grams, recommended King Arthur Flour Measure for Measure)
- ¼ cup granulated sugar (50 grams)
- 2 teaspoons baking powder (8 grams)
- 1 teaspoon baking soda (5 grams)
- ½ teaspoon salt (3 grams)
- 2 cups buttermilk (496ml)
- 6 Tablespoons melted butter (salted or unsalted, 90 ml)
- 2 large eggs
- 2 teaspoons vanilla extract (10ml)
Instructions
- In a medium bowl, whisk together 2 ¼ cup gluten free 1:1 flour, ¼ cup granulated sugar, 2 teaspoons baking powder, 1 teaspoon baking soda, and ½ teaspoon salt. Set aside.
- In a large bowl, whisk together 2 cups buttermilk, 6 Tablespoons melted butter, 2 large eggs, and 2 teaspoons vanilla extract. Once incorporated, add the dry ingredients to the wet mixture, and mix until the batter comes together and there are no visible streaks of dry ingredients.
- Cover and let the mixture rest for 10 minutes while you prepare your waffle iron.
- Preheat your waffle iron to the desired temperature (following the manufacturer’s instructions), and coat it with cooking spray.
- Once the waffle maker is ready, pour in just enough waffle batter to fill the mold (I used ¾ cup of batter per waffle), close, and let it cook until perfectly golden brown.
- Once done, remove the waffle from the waffle iron to a wire rack and repeat the process for the remaining waffle batter.
Notes
- For fluffier waffles, let the batter rest longer if desired.
- Adjust cooking time based on your waffle iron.
- Prep Time: 15 minutes
- Cook Time: 20 minutes
- Category: Breakfast
- Method: Waffle Iron
- Cuisine: American
Nutrition
- Serving Size: 1 waffle
- Calories: 250
- Sugar: 5g
- Sodium: 300mg
- Fat: 10g
- Saturated Fat: 5g
- Unsaturated Fat: 4g
- Trans Fat: 0g
- Carbohydrates: 35g
- Fiber: 2g
- Protein: 6g
- Cholesterol: 70mg